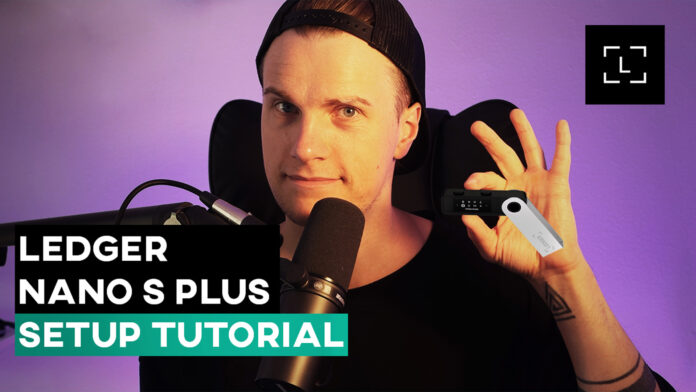
Ledger Nano S Plus is a powerful hardware wallet that provides a secure way to store your cryptocurrencies. And today I’m going to show you how to set up your Ledger Nano S Plus hardware wallet. Whether you’re a first-time user or looking to add a second Ledger device to your Ledger Live, this step-by-step guide will be helpful. Let’s get started!
Step 1: Connect Your Ledger Nano S Plus
First, open and connect your Ledger Nano S Plus to your laptop. Once you see the welcome message on the screen, click the right button. The Ledger will then prompt you to download the Ledger Live application. To do this, simply go to Ledger.com/start and download Ledger Live.
Step 2: Install Ledger Live
Since I have already downloaded Ledger Live and the Ledger Nano S Plus is my second device, the application won’t show me the Beginner’s Step-by-Step Guide and tips again. However, the setup process remains the same, so let’s continue.
Once you have Ledger Live installed, take your Ledger device. It will show you some tips on how to operate the wallet. Use the top buttons to navigate menus and lists, and press both buttons to select or confirm. You can also hold both buttons anytime to access the settings.
Step 3: Set Up as a New Device
After reviewing the tips on your Ledger’s screen, select “Set up as new device” by pressing both buttons simultaneously. Your Nano S Plus will prompt you to choose a 4 to 8-digit PIN. Use the right and left buttons to scroll through the numbers, and confirm each digit by pressing both buttons at the same time. Once you’ve entered your PIN, choose the tick icon and press both buttons again. Repeat the entire process to confirm your PIN.
Step 4: Write Down Your Recovery Phrase
Now comes the most crucial step! Your Ledger device will display your recovery phrase, consisting of 24 secret words that you need to write down. Make sure no one can see them during this process. Grab a pen, close the windows, turn off your webcams, and ensure you have enough time to carefully complete this step.
Press the right button to continue, read all the tips, and then press both buttons. Your Ledger device will display each of the 24 secret words one by one. Write down each word carefully. Keep pressing the right button until you’ve noted all the words.
Once you finish writing them down, press the left button and go through the words once more. After verifying all the words, press both buttons. Your Ledger will then ask you to confirm your recovery phrase. Select the correct words one by one using the right and left buttons, confirming each by pressing both buttons. If you’ve verified all the words correctly, you’ll see a message saying, “Your Recovery phrase is set.”
Important: Make sure to keep your recovery sheets in a safe place. If you lose them, you risk losing access to your coins.
Step 5: Finalizing the Setup
After securing your recovery phrase, take your device, press the right button, and read through all the tips again. Then press both buttons to continue. Congratulations! Your Ledger Nano S Plus is now ready for use!
Step 6: Install Applications
To receive and send cryptocurrencies, you’ll need to install applications. Open Ledger Live and navigate to “My Ledger.” Allow a secure connection with Ledger by pressing both buttons.
Before uploading applications, ensure that your device has the latest firmware. If you see an “Update firmware” message, click the “Update firmware” button and follow the instructions provided.
Once your firmware is updated, enter your PIN to unlock your device. You may notice a slight design change with the new firmware.
Step 7: Install Necessary Apps
Now that your firmware is updated, you can start installing applications. Click the “Install apps” button and allow Ledger Manager again, then install the applications you need. For this guide, I will install the Bitcoin and Ethereum apps.
After installing the applications, you’ll need to create new accounts for your Ledger Nano S Plus device. Go to “Accounts.” Since this is my second device, I already have a few active accounts linked to my Nano X. Click the “Add account” button and choose your crypto asset—in this case, Bitcoin. Open the Bitcoin app on your device by pressing both buttons.
You can also rename your new account. I will name mine “Bitcoin Nano S Plus.”
Click “Add account,” and you should see the “Account added successfully” message. Click “Done.” Repeat these steps for any other cryptocurrencies you wish to store on your Ledger Nano S Plus.
Conclusion
And that’s it for today! I hope this video was helpful in guiding you through the setup process for your Ledger Nano S Plus hardware wallet. HODL strong, and I’ll see you later!
Special Offer: Bitcoin 2025 Conference
If you’re interested in attending the Bitcoin 2025 Conference in Las Vegas and are looking for Bitcoin 2025 discount promo code, use the promo code CRYPTOSNAKE for 10% off your tickets!

