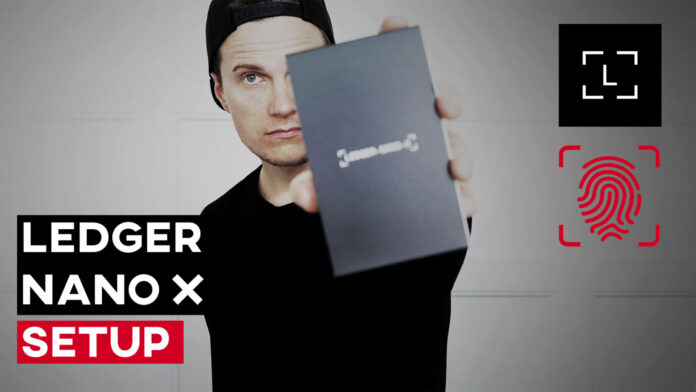
Welcome to the comprehensive Ledger Nano X Setup Tutorial. This guide will help you unbox and set up your Ledger Nano X wallet, including how to use the Ledger Live application on both your laptop and mobile device. By following these steps, you’ll be able to send and receive cryptocurrencies securely. Let’s get started!
Step 1: Unboxing Your Ledger Nano X
To begin, make sure you purchased your Ledger Nano X from the official Ledger online store to avoid any risks of malware. Your package should be in its original, sealed packaging. Inside, you should find:
- Your Ledger Nano X
- A USB Type-C cable
- An envelope containing:
- A “Get Started” leaflet
- A “Start your crypto journey securely with Ledger Live” card
- A “Use, Care and Regulatory Statement” leaflet
- Three recovery sheets for your 24-word recovery phrase
- A keychain
Ensure everything looks brand new, and the recovery sheets are blank. If you notice any writing on the sheets, do not use the device; contact Ledger Support immediately.
Step 2: Connecting Your Ledger Nano X
Connect your Ledger Nano X to your computer using the USB Type-C cable. If you’re using a MacBook Air or a similar device without standard USB ports, you may need an adapter. After connecting, you should see a welcome message on the Ledger display. Follow the on-screen instructions to download Ledger Live.
Step 3: Download Ledger Live
Open your web browser and navigate to ledger.com/start. Download the Ledger Live application for your operating system (Windows, Mac, or Linux). In this guide, we’ll download it for Mac.
Step 4: Opening Ledger Live
Launch Ledger Live and click Get Started. Accept the Terms of Service and Privacy Policy. Choose your device (Nano X) when prompted. If this is your first Ledger device, select the option to set up a new Nano X.
Step 5: Getting Started with Setup
Make sure you are in a safe, quiet environment for the setup. You should plan to spend around 30 minutes on the setup process. Click the next step in Ledger Live and follow the on-screen instructions to learn how to interact with your device. Select Set Up a new device to begin.
Step 6: Setting Your PIN Code
You will need to create a PIN code consisting of 4 to 8 digits. Use the left and right buttons to select digits and confirm each digit by pressing both buttons. After setting your PIN, confirm it again when prompted.
Step 7: Creating Your Recovery Phrase
Your Ledger Nano X will generate 24 secret words to back up your private keys. This recovery phrase is crucial; if you lose it, you will not be able to access your funds.
- Click the Recovery phrase button in Ledger Live.
- Write down the 24 words in order on your recovery sheets.
- Confirm your recovery phrase on your device by selecting each word as prompted.
Once confirmed, you’ll see a message stating, “Your recovery phrase is set.”
Step 8: Securing Your Recovery Phrase
Keep your recovery phrase secure. Never store it digitally or share it with anyone, even Ledger Support. Once you have securely hidden it, click the “Ok, I’m done” button.
Step 9: Taking the Quiz
Ledger Live will prompt you to take a short quiz to reinforce your understanding. Answer the questions to continue the setup.
Step 10: Genuine Check
Verify the authenticity of your Nano X by clicking the “Check my Nano” button. Allow Ledger Manager on your device when prompted, and confirm that everything is in order.
Step 11: Updating Firmware
Firmware updates are essential for security. If an update is available, ensure you have your recovery phrase saved, check the box, and proceed with the update.
Step 12: Installing Apps
To manage different cryptocurrencies, you will need to install specific apps on your Ledger device. Download apps for Bitcoin, Ethereum, and any other assets you plan to hold. After installation, Ledger Live will guide you through receiving or sending coins.
Using Ledger Live Mobile App
To manage your wallet on the go, download the Ledger Live app from your app store. Connect your Ledger Nano X via Bluetooth and follow the on-screen prompts to set it up. The app will function similarly to the desktop version, allowing you to send, receive, and manage your cryptocurrencies seamlessly.
Congratulations on setting up your Ledger Nano X! By following these steps, you’re now equipped to securely manage your cryptocurrencies. For any further questions, don’t hesitate to refer to the official Ledger support page.
Thanks for reading, and remember to HODL strong!
